
- 1 Install and upgrade
- 1.1 System Requirements
- 1.2 Source Code Installation
- 1.3 One-Click Installation for Windows
- 1.4 Zsite, ZenTao and Zdoo
- 1.5 Install Zsite with online scripts
- 1.6 Upgrade Zsite
- 1.7 Upgrade Zsite with online scripts
- 1.8 Zsite Themes
- 1.9 Decryption
- 2 About Zsite
- 3 How to use Zsite
- 3.1 Content
- 3.1.1 Article
- 3.1.1.1 Article Category
- 3.1.1.2 Publish an Article
- 3.1.1.3 Edit, Delete and Attach
- 3.1.2 Page
- 3.1.2.1 Zsite Page
- 3.1.3 Blog
- 3.1.3.1 Zsite blog
- 3.1.4 Book
- 3.1.4.1 Add a book
- 3.1.4.2 Add chapters to a book
- 3.1.4.3 Write articles for a chapter
- 3.1.4.4 Book settings
- 3.1.5 Submission
- 3.1.5.1 Submit an article
- 3.2 Mall
- 3.2.1 Orders and Settings
- 3.2.2 Product
- 3.2.2.1 Product category
- 3.2.2.2 Add a product: basic info
- 3.2.2.3 Add a product: attributions
- 3.2.2.4 Add a product: images
- 3.3 User
- 3.3.1 User Management
- 3.3.1.1 User list
- 3.3.2 Comment
- 3.3.2.1 Review and reply a comment
- 3.3.3 Forum
- 3.3.3.1 Board settings
- 3.3.3.2 Board moderator and descriptions
- 3.3.3.3 Edit, delete, reply and stick a thread
- 3.4 SEO
- 3.4.1 Traffic Statistics
- 3.4.2 Keywords
- 3.4.3 Links
- 3.5 UI
- 3.5.1 Interface
- 3.5.1.1 Theme
- 3.5.1.2 Layout
- 3.5.1.3 Appearance
- 3.5.1.4 Code
- 3.5.1.5 Source
- 3.5.1.6 Mobile site
- 3.5.2 Logo
- 3.5.2.1 Site logo
- 3.5.2.2 Site favicon
- 3.5.3 Slides
- 3.5.4 Navigation
- 3.5.5 Widget
- 3.5.5.1 Manage a widget
- 3.5.5.2 Example: customized widget
- 3.5.5.3 Example: use Widget to set the style
- 3.5.6 Visual Editor
- 3.5.7 Other Settings
- 3.5.8 Custom Themes
- 3.6 Ext
- 3.6.1 Extensions and Themes
- 3.6.2 Import JS
- 3.7 Set
- 3.7.1 Site
- 3.7.1.1 Basic settings
- 3.7.1.2 Language
- 3.7.1.3 Path
- 3.7.1.4 Domain settings
- 3.7.1.5 CND settings
- 3.7.1.6 Cache settings
- 3.7.1.7 Homepage menu
- 3.7.1.8 Full text retrieval
- 3.7.1.9 Backup/Restore
- 3.7.1.10 Agreement
- 3.7.1.11 Static Settings
- 3.7.2 Company
- 3.7.2.1 Company Information
- 3.7.2.2 Contact
- 3.7.3 Points
- 3.7.4 API
- 3.7.4.1 Email Setting
- 3.7.4.2 OAuth
- 3.7.5 Security
- 3.7.5.1 Basic settings
- 3.7.5.2 Filters and Blacklist/Whitelist
- 3.7.5.3 Sensitive words and attachment
- 3.7.5.4 Verification Code
- 3.7.5.5 Admin and Privileges
- 4 System Maintenance
- 4.1 Configure web server for URL
- 4.2 Backup Zsite
- 4.3 Install Zend Guard Loader
- 4.4 Install Ioncube
- 4.5 Install other PHP extensions
- 4.5.1 Install PHP-openssl
- 4.5.2 Install PHP-curl
- 4.5.3 Install PHP-json
- 4.5.4 Install PHP-mbstring
- 4.5.5 Install PHP-gd
- 4.5.6 Install PDO
- 5 Customization
- 5.1 Before you start
- 5.2 Zsite source code
- 5.3 Zsite directory structure
- 5.4 Find the code to modify
- 5.5 Database structure
- 6 Zsite Cloud
User list
- 2016-08-25 14:21:58
- tengfei
- 13893
- Last edited by Zeze on 2018-08-02 11:04:20
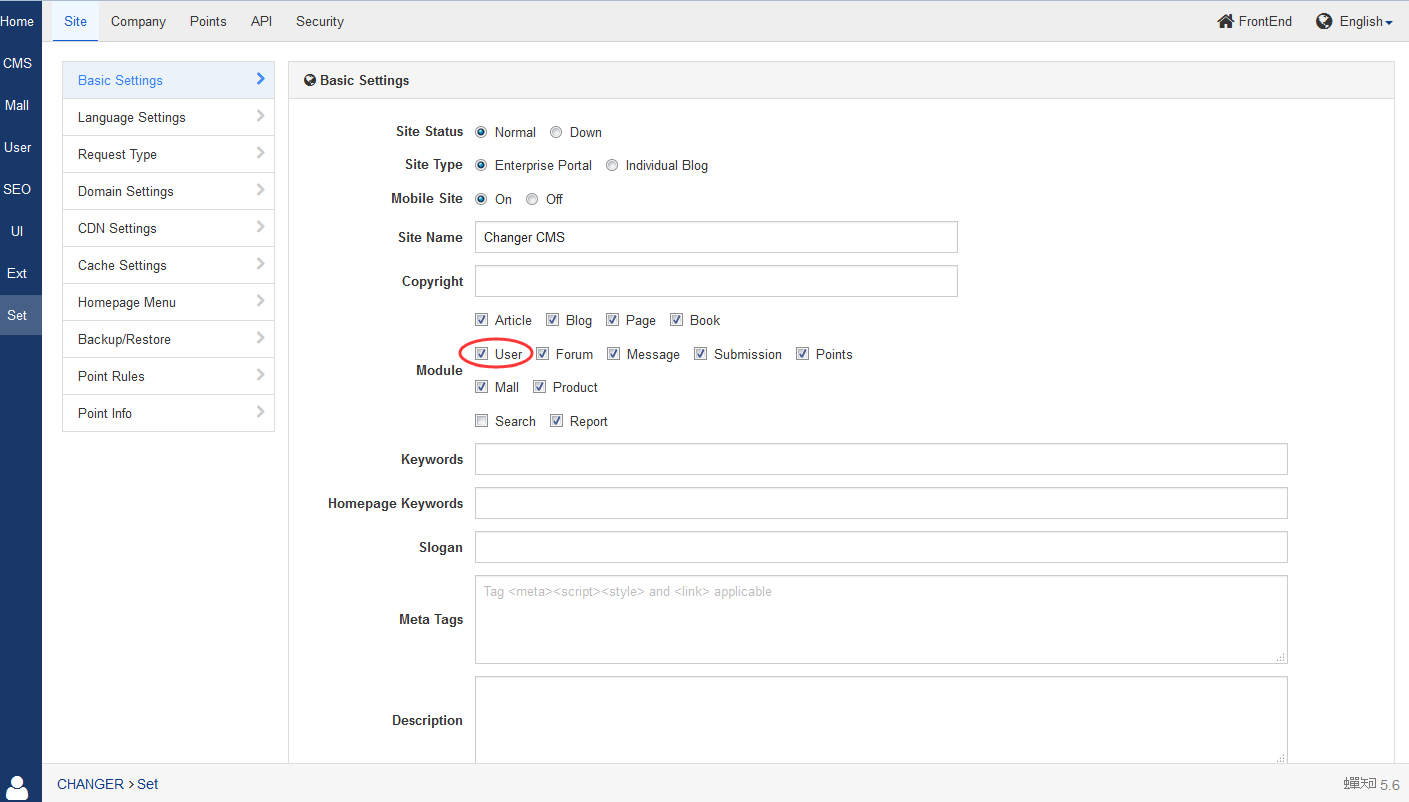
Check User at Set-> Site-> Basic settings to switch on user-related features, such as Comment and Forum.
Go to User and you will see the user list.
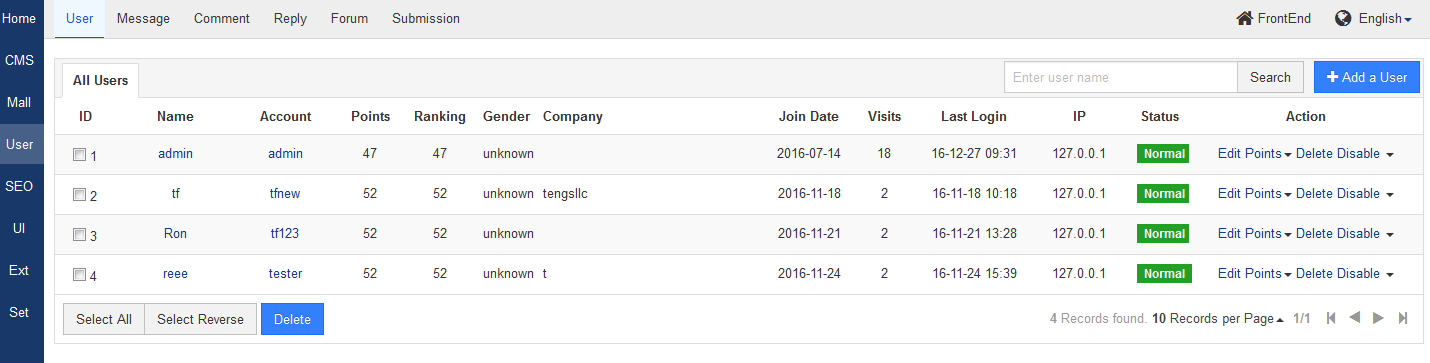
1. You can check members on this list, or search members by their IDs.
2. Choose a member to edit. You can set one admin and reset the password if one forgot the password.
3. You can disable certain member account.
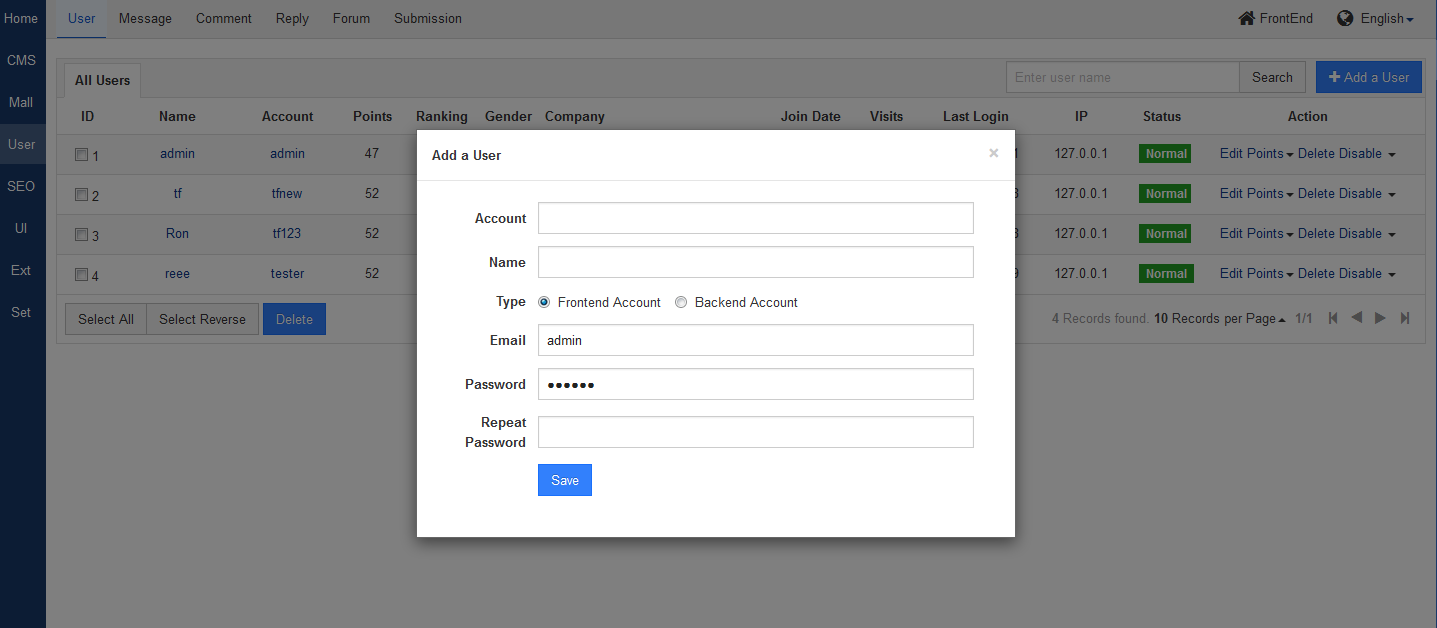
4. Click Add a User and you will see a page as shown below to verify.
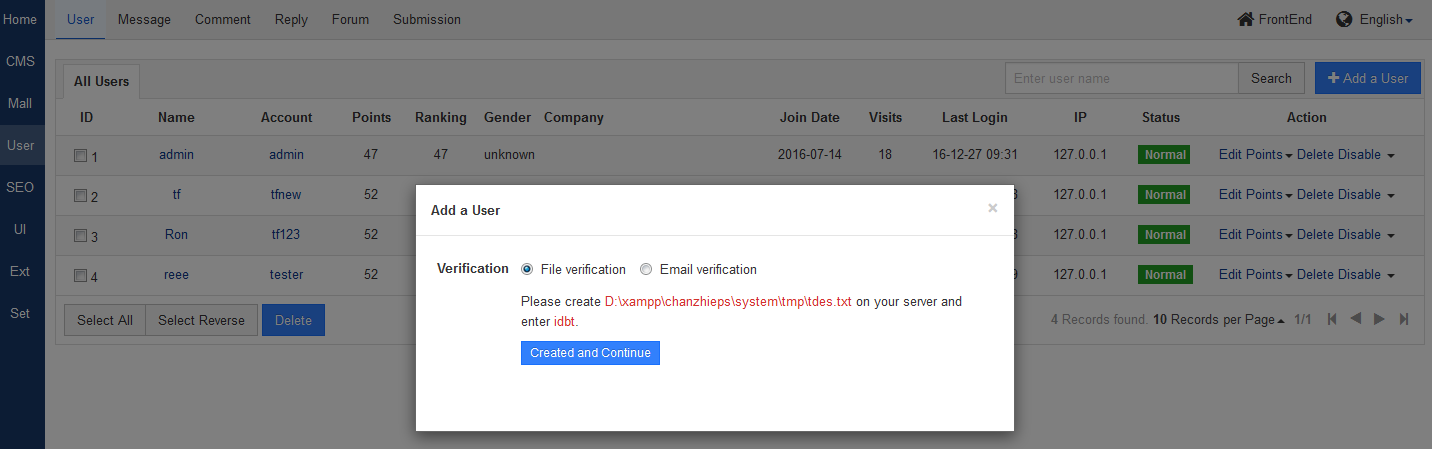
Follow the instructions to verify your action and then enter
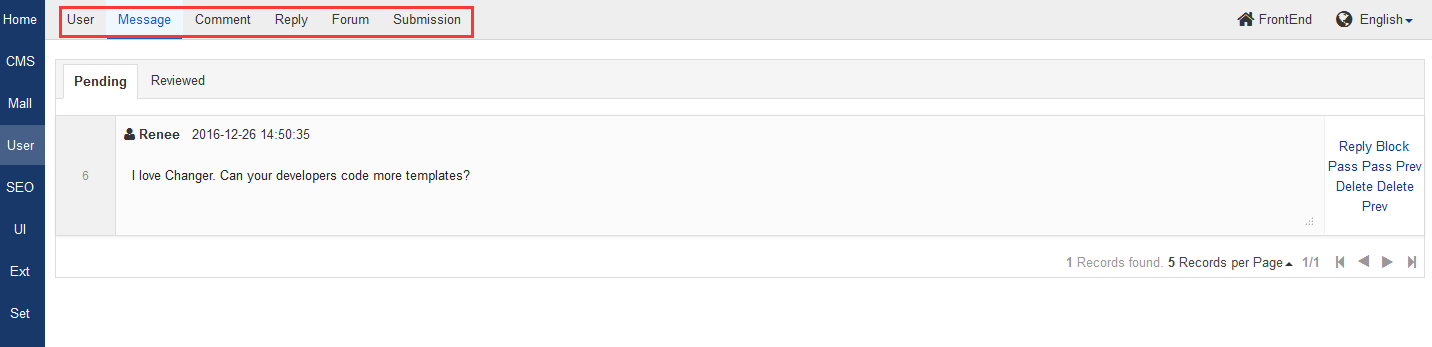
Note
All comments/messages can be viewed only if they have been reviewed and published by the admin. Admin can go to "User"->"Message" to review, reply, or delete messages.
If Board module is switched on, you can also see topics and the replies here, and you can also edit, delete, and hide those here.
If Submission module is on, contributions can be checked and reviewed here.
-
CUSTOMERS
Haier Vanke Skyworth China Mobile -
PRODUCTS
ZenTao ZDOO ZenTao Cloud -
SUPPORT
GitHub SourceForge Dynamic Download -
CONTACT US
Email: Renee@easysoft.ltd Skype: tengfei@cnezsoft.com


